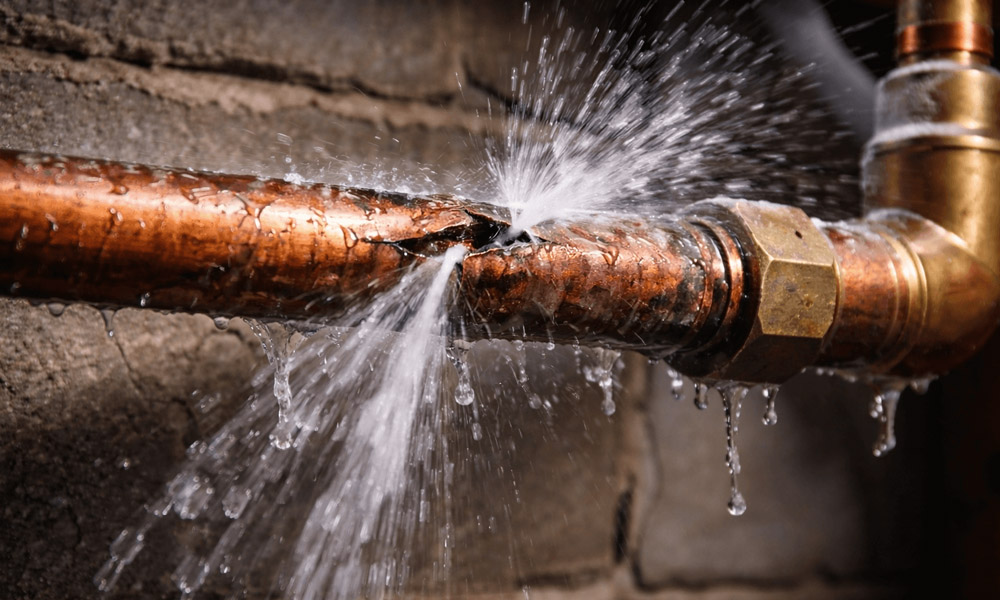
A supply line that splits under a sink, a washing machine hose that blows, or a water heater fitting that gives way can send gallons of water across floors and down walls in minutes. What you do in the first hour can dramatically reduce damage to drywall, subfloors, cabinets, and electrical systems. This walkthrough focuses on fast, safe actions: finding the correct shutoff, protecting the structure, avoiding common mistakes that make matters worse, and stabilizing the situation so permanent repairs go smoothly. Even if you eventually need a plumber, these steps help you keep control while you wait.
1. Find and Close the Right Valve Fast
Start by stopping the flow. If the break is isolated to a fixture, close the angle stop under the sink or behind the toilet by turning it clockwise. For a washing machine, close the hot and cold supply valves above the unit. If water is coming from a burst pipe in a wall or ceiling, go straight to the main shutoff. In many homes, this is a quarter-turn ball valve near the water heater, in a garage, or where the service line enters a crawlspace. Older homes may have a gate valve that takes several turns to close. If you cannot locate a house valve, check the meter box at the curb and call your water provider for guidance.
If you are local and need help beyond these first steps, it’s helpful to know where to find Trusted Plumbing Services in Harrah, OK, and you can follow this checklist. Meanwhile, confirm the valve you closed stopped the leak by listening for flow and checking the water meter. If the dial keeps spinning, another valve may still be open.
2. Make the Area Safe: Electricity, Gas, and Stored Pressure
Standing water and live electricity do not mix. If water reaches outlets, power strips, or the base of appliances, switch off the affected circuit at the breaker panel before you step into pooled water. For an electric water heater, shut off the dedicated breaker; for a gas unit, turn the gas control to pilot or off. Next, relieve pressure in the plumbing system to slow any residual seepage. Open the highest faucet in the house to let air in, then open the lowest faucet or a hose bibb to drain water. This prevents trapped water from feeding a slow ceiling leak and helps safely empty lines after you close the main shutoff.
3. Limit Water Spread and Protect Materials
Water migrates fast through flooring seams and wall cavities. Pull up area rugs and move furniture off wet carpet. Slip aluminum foil or plastic under furniture legs to keep stains off hardwood. Use towels, a wet/dry vacuum, or a floor squeegee to push water toward a doorway or a floor drain. Place a bucket under active drips, and don’t punch holes in a sagging ceiling while standing under it; a soaked gypsum panel can fail without warning. If you see water staining along a baseboard, gently remove the quarter round or baseboard to let air circulate and reduce the chance of hidden mold growth behind the wall.
4. Stabilize the System Without Causing New Damage
Temporary controls buy time for a lasting fix. For a split copper or PEX line you can access, a pipe repair clamp or a push-fit end cap can stop a small leak until a proper splice is made. For a leaking P-trap under a sink, set a bucket under the trap and avoid using that fixture until it is reassembled with a new slip joint washer. If a toilet supply tube failed, replace the tube and verify the compression nut seats squarely on the angle stop. One common mistake is restoring power or relighting a water heater before the tank has refilled; electric elements can burn out when energized in air, and gas burners can overheat an empty tank. Always open a hot water faucet and wait for a strong, steady stream before turning the water heater back on.
Document damage as you go. Take photos of soaked drywall seams, delaminated cabinet toe kicks, the failed fitting or supply line, and the shutoff you used. Note the time you closed the main. If you contact your insurer, these details help a claims adjuster understand the loss sequence and scale, and they can provide rental fans, dehumidifiers, or temporary materials like caps and clamps.
Fix the Cause So It Does Not Happen Again
After the immediate mess is controlled, address the root problem. High static pressure can burst supply lines and stress washing machine hoses. A simple gauge on a hose bibb will show your pressure; if it is over 80 psi, consider having a pressure-reducing valve adjusted or installed. In closed systems, a potable water expansion tank protects against thermal expansion when the water heater fires; without it, the temperature and pressure relief valve may weep, or fittings can loosen over time. There is a trade-off: dropping pressure to a reasonable 55 to 65 psi protects pipes, but some showers may feel less forceful. The long-term protection is usually worth the modest change in feel.
Age and materials matter too. Replace rubber washing machine hoses with braided stainless steel lines and close the supply valves when you travel. Insulate supply pipes in attics, crawlspaces, and exterior walls to reduce freeze risk; in a hard cold snap, a PEX fitting in an unconditioned attic can pop and soak ceilings below. Flush sediment from tank-style water heaters annually to reduce overheating and tank-bottom corrosion, and inspect the anode rod periodically so it can keep protecting the tank. For toilets and faucets, upgrade old plastic supply tubes to braided connectors and replace brittle angle stops that do not fully close. These small parts fail more often than main lines and are inexpensive to update.
Two quick examples show how these steps play out. Scenario one: a braided dishwasher line springs a leak while you are at work. You come home to water on the kitchen floor. Close the dishwasher angle stop, kill power to the nearby circuit at the panel, vacuum up the puddles, pull the toe kick to air the cabinet cavity, and replace the failed line before restoring power. Scenario two: a freeze splits a copper pipe in the garage wall. Close the main shutoff, open a hose bibb and a second-story faucet to drain pressure, set out fans, and use a push-fit cap on the accessible stub until a permanent repair is soldered on warmer days.
Preparation makes the first hour calmer. Locate your main shutoff now and label it. Keep a pressure gauge, a few push-fit end caps sized for your pipe, a pipe repair clamp, and a roll of plastic sheeting with painter’s tape in a small kit. Know how to safely turn off your water heater. If a major leak ever happens, you will act in minutes, not guess under stress. When it is time for permanent repairs or pressure adjustments, a licensed plumber can complete the work to code and help prevent the next emergency.