Every winter, the same story plays out in plenty of homes. The heating runs nonstop, the bills climb, and somehow the living room still feels chilly. More often than not, the windows are to blame, since even well-kept glass lets warm air slip outside.
The good news is that you don’t need a full window replacement to fix this. A handful of cheap materials and an afternoon of work can make a real difference, and the tips below show you where to start.
Why Drafty Windows Cost You More Than You Think
Glass is a pretty poor insulator, so a big chunk of the heat you pay for escapes right through your windows. Single-pane windows are the worst offenders, but older double-pane units lose plenty too. The frames also play a part, especially aluminum ones, which pull cold air inside and pass your warmth straight out.
Small gaps around the sash or sill don’t look like much, but together they can add up to a sizable hole in your wall. Your furnace works overtime to make up for it, and your bill shows it. A popular fix is window inserts for winter, which press into the frame and add a layer of protection without permanent changes.
Cold windows also mess with how warm a room feels, even when the thermostat says otherwise. Your body loses heat to cold glass, so sitting next to it on a January evening feels like someone left a door open. That’s why people crank the heat, wear extra layers indoors, or avoid certain rooms until spring.
Then there’s the moisture problem. When warm indoor air hits a cold pane, the moisture in it turns into condensation that drips onto the sill. Over time, that water can rot wooden frames, peel paint, and invite mold into the corners. Keeping the glass warmer cuts down on all of this, which saves you repair money down the road.
Finding Air Leaks Before You Spend a Dime
Before you buy anything, figure out where the cold air actually gets in. The easiest way is to light a candle or a stick of incense and slowly move it along the edges of each window. If the smoke or flame flickers sideways, you’ve found a leak. Mark the spot with painter’s tape so you remember it later.
Pay close attention to the places where different parts meet. Leaks love the gap between the sash and the frame, the joint where the frame meets the wall, and the bottom of the sill. Also, check the lock on each window, since a latch that doesn’t pull the sash tight leaves a thin opening you can’t always see.
Your hands can do a lot of the detective work too. On a windy day, run your palm slowly around the window and feel for streams of cold air, especially on the side facing the wind. A calm day works as a second check, since sealed glass still feels chilly but won’t push a draft against your skin.
If you’d rather leave it to the pros, call your local utility company. Many offer free or low-cost home energy audits, and some even bring a thermal camera that shows exactly where heat escapes. You’ll walk away with a clear list of problem spots, which helps you spend money only where it counts.
Weatherstripping and Caulk for Quick Wins
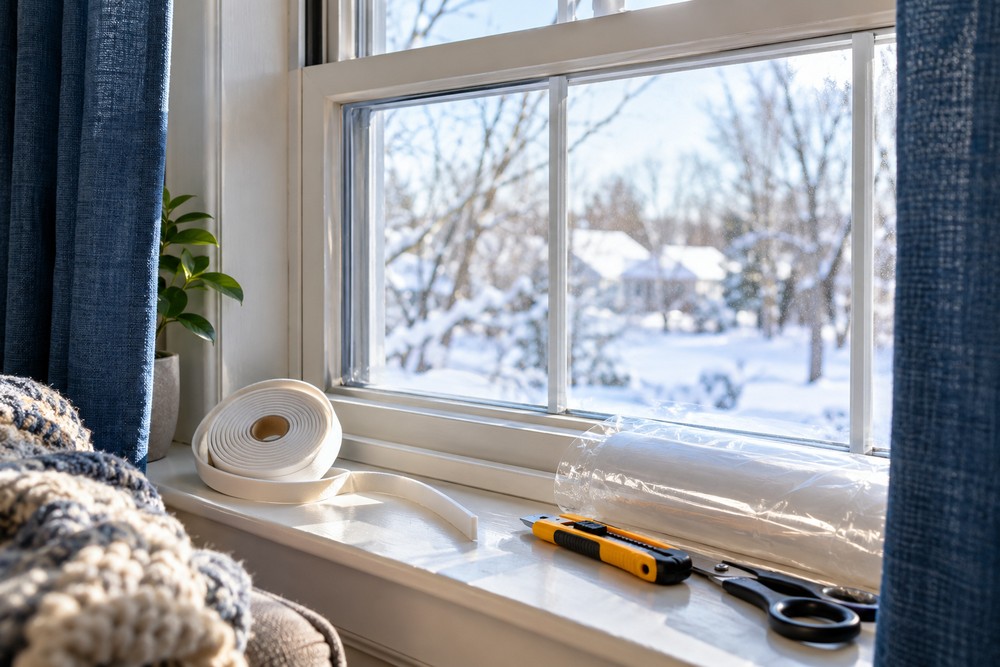
Adhesive foam tape is about as cheap and easy as insulation gets. Cut it to length, peel off the backing, and press it along the spot where the sash meets the frame. When the window shuts, the foam squeezes tight and blocks the draft. A roll costs a few dollars and covers several windows.
Sliding windows and double-hung windows need something a little different, since their parts move past each other instead of pressing together. That’s where V-seal strips come in handy. The plastic folds into a V shape, so it springs open to fill the gap while still letting the sash glide. You’ll find it at any hardware store.
Gaps between the window frame and the siding call for caulk instead. Grab an exterior-grade silicone or polyurethane caulk, scrape out any old, cracked bead, and run a fresh line along the seam. Moreover, do this on a dry day above about 40°F, since most caulks won’t cure properly in the cold.
Renters have options here too. Removable caulk, sometimes called temporary caulk, goes on like regular caulk but pulls off in one strip come spring. It usually won’t damage paint or leave residue, so your landlord never has to know. Use it on interior gaps around sashes that you won’t open until the weather warms up.
Shrink Film Kits on a Tight Budget
Window insulation film kits come with a thin sheet of clear plastic and a roll of double-sided tape. You stick the tape around the inside of the window frame, then press the film onto it, leaving a little slack. The result is a sealed pocket of still air between the plastic and the glass, which slows down heat loss.
Once the film is on, grab a hair dryer and set it to high. As you wave the warm air across the plastic, it shrinks and pulls tight, and the wrinkles disappear almost like magic. Start at the corners and work toward the middle, keeping the dryer moving so you don’t melt a hole in the sheet.
A lot of people worry the plastic will look cheap, but a properly shrunk film is surprisingly hard to spot. You still get your view and your natural light. Plus, the thin air layer works a bit like a second pane of glass, so the area near the window feels noticeably warmer right away.
Cost is where shrink film really shines. A kit that covers several windows usually runs somewhere between ten and thirty dollars, while replacing a single window can cost hundreds. You do have to toss the film at the end of the season, but even buying a fresh kit every fall stays far cheaper than any upgrade.
Heavy Curtains and Cellular Shades
Thermal curtains have a dense lining, often made of foam or a tightly woven fabric, that blocks cold air coming off the glass. When you close them at night, they trap a layer of air between the fabric and the window. That pocket keeps the chill on the window side and the warmth in the room where you want it.
Cellular shades, also known as honeycomb shades, work on a similar idea but look a lot neater. Their fabric folds into little hexagon pockets, and each one holds air that insulates. Double-cell versions add a second row of pockets for even more protection, and they can fit snugly inside the frame, so they don’t eat up wall space.
Size matters more than most people expect. Curtains that stop at the windowsill leave a gap where cold air spills down onto the floor and spreads across the room. You’ll get far better results with panels that reach the floor and extend a few inches past each side of the frame. Mounting the rod higher helps as well.
Of course, sunshine is free heat, so don’t keep everything shut all day long. Open curtains and shades on south-facing windows when the sun is out and let the light warm up the room. Then close them again as soon as the sun goes down, and you’ll hold onto that warmth well into the evening.
Wrap Up
Keeping your home warm this winter doesn’t have to mean a big renovation. Start by finding the leaks, seal the obvious gaps, and then add a layer or two, like shrink film or thermal curtains, depending on whether you rent or own.
Most homes do best with a combination of two or three of these methods. If the frames are rotting or the glass is cracked, though, it might be time to talk to a pro about repairs.