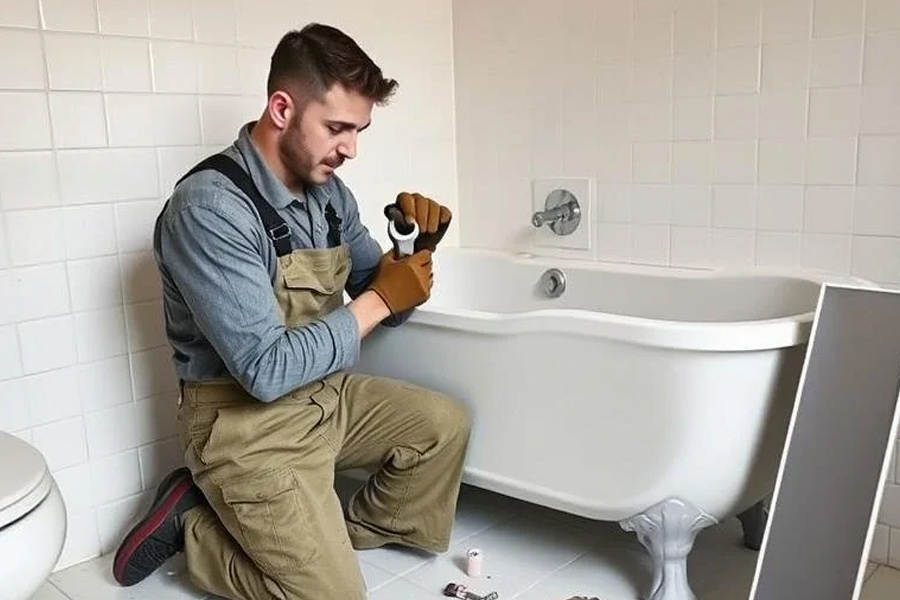
Replacing a bathtub can improve comfort, simplify cleaning, and help address water-related problems before they become more expensive repairs. Whether the goal is a straightforward update or a complete bath renovation, exploring remodeling bathtubs early helps homeowners compare options that fit the existing layout, daily routines, and long-term plans for the home. The best replacement is not automatically the largest or most decorative model. A successful project starts with the condition of the room itself, including the plumbing, subfloor, walls, ventilation, and safe access around the tub.
Why Homeowners Replace An Old Bathtub
Visible wear can be a reason to replace a tub, but it is important to look beyond appearance. Cracks, persistent stains, rust, loose surrounds, failed caulk, soft flooring, and recurring mildew can indicate that water is reaching places it should not. A surface scratch or worn finish may be repairable, while a tub that flexes underfoot or leaks behind the wall often calls for deeper investigation. Comfort also matters. High tub walls, slippery surfaces, cramped bathing space, and difficult entry can make an otherwise functional bathroom frustrating to use. Replacement becomes more sensible when small repairs keep recurring or when the room no longer works for its users. Consider both present needs and how long you expect to remain in the home.
How To Inspect The Existing Space
Check The Tub And Surround
Inspect the tub basin, edges, wall panels, tile joints, grout, and caulk lines. Look for cracks, movement, corrosion, gaps, or water that collects where it should drain away. A musty odor, peeling paint, or staining near the tub can also point to moisture behind finished surfaces.
Review The Plumbing
Confirm the location of the drain, overflow, supply lines, shutoff valves, and shower controls before selecting a new tub. Keeping plumbing in the same general location can simplify planning. Moving pipes may add labor, require wall or floor access, and trigger permit requirements depending on local rules.
Inspect The Floor And Walls
Check for soft spots in the floor, warped baseboards, damaged drywall, loose tile, and signs of previous leaks. Any compromised framing, subflooring, or wall material should be repaired before new finishes are applied. Installing a new tub over unresolved damage only hides the problem temporarily.
How To Choose The Right Tub Style
Choose a tub by considering access, available space, cleaning needs, household routines, and installation requirements rather than appearance alone.
- Standard alcove tub: Often suits an existing three-wall layout and works well in many tub-shower combinations.
- Soaking tub: Offers a deeper bathing experience for homeowners who prioritize relaxation.
- Freestanding tub: Creates a distinct visual focal point, but needs adequate clearance and may involve different plumbing arrangements.
- Corner tub: Can be useful in layouts with an available corner and sufficient floor area.
- Walk-in tub: Supports easier entry for people with mobility concerns and can incorporate seating and handholds.
- Tub-shower combination: Provides flexibility for households that need both showering and bathing in one space.
What To Include In The Project Budget
The tub is only one part of the final expense. A realistic budget should include demolition and disposal, wall materials, plumbing work, waterproofing, floor or wall repairs, fixtures, safety features, permits, cleanup, and labor. Broad bathroom remodeling cost ranges can vary considerably because structural repairs, accessibility upgrades, and plumbing changes all affect the scope. Set aside a contingency fund for conditions discovered after demolition, such as damaged framing, weakened subflooring, outdated supply lines, or old wiring. Before work begins, ask how change orders will be documented, priced, and approved. A clear process helps prevent avoidable surprises when the walls are open.
How To Control Moisture And Prevent Damage
A durable bathroom needs more than attractive tile or wall panels. It needs an effective plan for managing water and humidity. The EPA’s bathroom remodeling guidance emphasizes fixing leaks, venting bathroom air outdoors, sealing accessible penetrations, and protecting wall and floor assemblies from moisture.
- Use an exhaust fan that vents directly outdoors.
- Run the fan during bathing and after the room has been used.
- Repair active leaks before installing new wall or floor finishes.
- Use water-resistant materials in wet areas.
- Seal joints, plumbing openings, and transitions where appropriate.
- Keep water from reaching the subfloor and wall cavities.
Safety Features Worth Considering
Safety features can make daily bathing more comfortable without making the room feel clinical. Consider a low-threshold entry, slip-resistant surfaces, a handheld shower spray, easy-to-reach controls, bright lighting, and clear walking paths. Grab bars should be installed with proper support behind the wall, not merely attached to a decorative surface. Built-in or fold-down seating may also be useful for households planning for long-term accessibility.
How To Compare Installation Professionals
Compare complete scopes of work, not just bottom-line prices. A detailed estimate should identify who handles demolition, disposal, plumbing, waterproofing, permits, surface repairs, cleanup, and warranty service. Ask whether the installer will inspect framing and subfloor conditions after the old tub is removed. Also, ask how the work area will be protected, how long water may be unavailable, and who will coordinate any electrical or plumbing changes. Request a written timeline with key stages, including delivery, demolition, repair work, installation, finishing, and final inspection where required.
A Step-By-Step Replacement Plan
- Measure the room, access points, and existing tub location.
- Document visible damage, plumbing locations, and safety concerns.
- Separate essential repairs from optional cosmetic upgrades.
- Select a tub that fits the room and household needs.
- Request detailed written quotes from qualified professionals.
- Confirm product availability, scheduling, permits, and water shutoff plans.
- Inspect drainage, seals, wall finishes, and flooring before final payment.
- Save receipts, product details, warranties, and permit records.
Common Planning Mistakes To Avoid
Avoid selecting a tub before measuring the room and the route it must travel to reach the bathroom. Do not focus only on finishes while overlooking waterproofing, ventilation, floor condition, fixture placement, or budget room for hidden damage. It is also wise to avoid vague estimates and begin demolition before major materials are confirmed and available.
Final Takeaway
A well-planned tub replacement balances comfort, durability, moisture control, safety, maintenance, and cost. The strongest result is one that fits the existing space, works with the bathroom’s layout, addresses problems below the surface, and supports everyday use for years to come. Homeowners should also consider the tub’s material, entry height, surrounding wall system, plumbing connections, ventilation, and cleaning requirements before selecting a final design. A clear written scope can help identify what is included in the project and prepare for potential repairs or additional work that may be discovered during demolition. Careful planning before demolition provides a stronger foundation for later decisions and can help create a bathroom that remains practical, comfortable, and easier to maintain over time.