Repainting an entire home is part planning puzzle, part craftsmanship. When you are staying in the house during the work, decisions about room order, surface prep, ventilation, and daily routines matter as much as the color palette. This guide lays out a practical, low-disruption approach to a whole-house repaint, including how to stage rooms, what to prep first, why sheen choices change by space, and how to handle dry and cure times without damaging fresh coatings. These steps are written for occupied homes and apply well to Chesterfield houses with mixed floor plans, from open-concept first levels to traditional layouts.
1. Occupied Home Constraints: Kids, Pets, Floor Plan, and Ventilation
Start by mapping how your household actually uses the space. If a toddler naps in the nursery, stage that room for a later phase. If a dog uses the back hall daily, protect pathways with canvas drop cloths and rosin paper, and schedule that hallway for overnight work. For homeowners exploring Whole-House Painting in Chesterfield, list true constraints: limited storage for furniture, an open stair that spreads dust, and windows that affect cross-ventilation. Choose low-VOC acrylic latex paints where possible, and run the HVAC fan to keep air moving while covering return vents with mesh or filter media to catch dust.
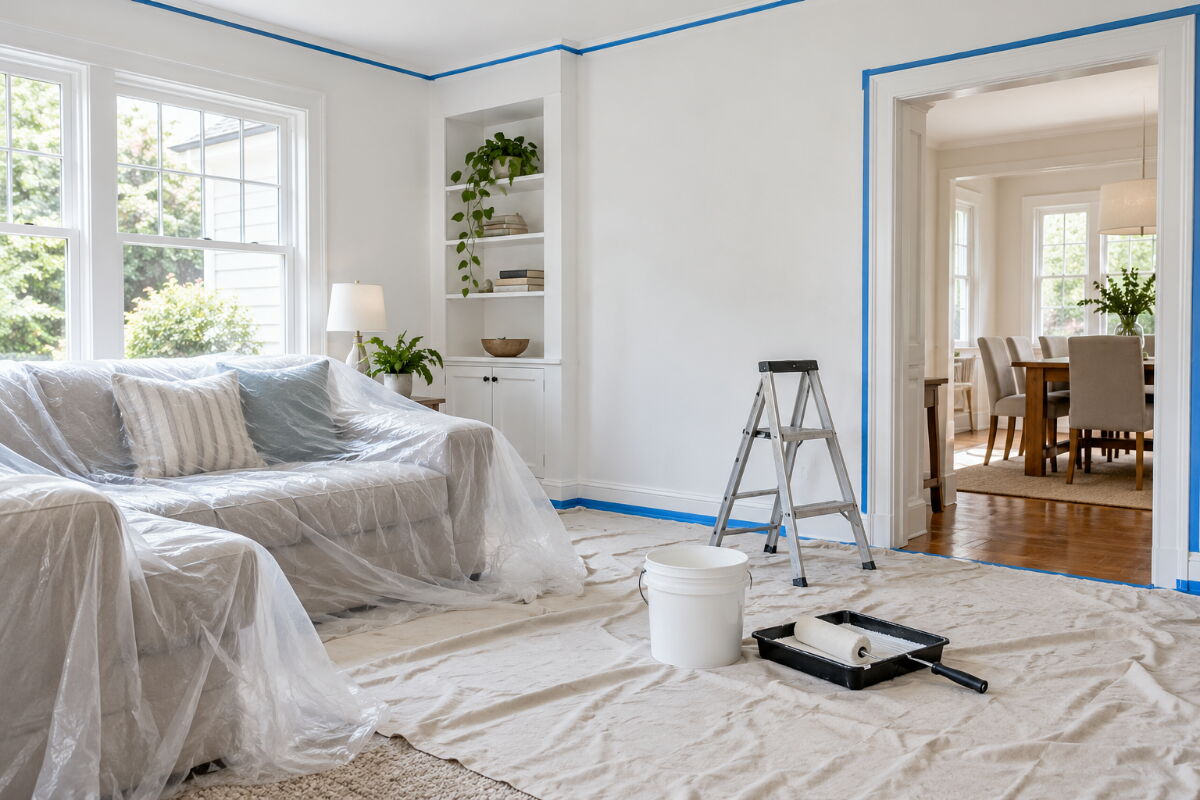
Older homes introduce safety and setup variables. If a surface might contain lead-based coatings, consult an EPA Renovation, Repair and Painting rule resource before disturbing it. In all homes, build a small staging area for brushes, roller frames, and a washout bucket, and isolate active rooms with plastic sheeting and zipper doors. Mask register covers, remove switch plates into labeled bags, and place tack mats at thresholds so dust and paint chips do not migrate into cleaned zones.
2. Sequencing Rooms and Surfaces for Less Disruption
Inside each room, work ceiling, then walls, then trim and doors. That sequence protects finished surfaces from spatters and makes cutting clean lines easier. Roll ceilings with a 3/8 inch nap for smooth drywall or 1/2 inch for light texture, keeping a wet edge as you move. Cut walls with a 2.5-inch angled sash brush, then roll with an 18-inch frame when speed matters. Spraying trim can be efficient in empty rooms, but in lived-in spaces, brushing and rolling enamel on baseboards and casings reduces overspray risk and masking time. Either way, sand lightly between coats and vacuum sanding dust with a HEPA-capable vac.
Work across the house in phases to keep a bedroom usable and maintain a functional path to the kitchen and bath. Start with a low-stakes guest room to finalize color and sheen, then tackle secondary bedrooms, followed by hallways, entry, and living areas. Leave the kitchen for last so cooking is disrupted for the shortest window, and handle stair railings or banisters overnight to keep daytime access open. Use a “swing room” to temporarily hold furniture as you clear the next space, and keep wardrobes and bookshelves wrapped with plastic film instead of hauling every item out.
3. Room by Room Prep: Degreasing, Deglossing, Patching, and Priming
Preparation choices change by room. In kitchens, wash walls and ceilings with a TSP substitute or degreaser, rinse well, and let dry. Slick areas like previously oil-painted trim benefit from a liquid deglosser and sanding before a bonding primer grips the surface. Spot-prime water stains with a stain-blocking primer so brown rings don’t bleed through. In bathrooms, treat mildew with a cleaner first, then use a moisture-resistant topcoat. Newly repaired drywall needs a PVA primer for uniform absorption. For cracks at inside corners, embed fiberglass mesh tape in joint compound, and caulk hairline gaps at baseboards with a paintable acrylic latex caulk.
Trim and doors are durability hotspots. If you suspect an old alkyd enamel, do a quick crosshatch adhesion test after priming a small area: score a grid, apply tape, and pull to check bond. Sand with 220-grit sandpaper between enamel coats for a smoother finish, and wipe with a tack cloth before repainting. Avoid silicone caulk on paintable joints because most coatings will not adhere. On heavy-use baseboards, a waterborne enamel with higher hardness resists scuffs from vacuums and kids’ toys better than standard wall paint.
4. Color Flow and Sheen Selection Across Hallways, Open Rooms, and Trim
Think in transitions, not isolated rooms. Hallways and open plan zones benefit from a consistent neutral that ties spaces together, with accent colors in bedrooms or a dining niche. Make color breaks at natural stops like inside corners or the far edge of a casing, not in the middle of a long, shared wall. Keep ceilings a uniform white or very light tone to reduce visual clutter, and maintain trim in one sheen and color throughout. For walls, eggshell balances washability with a softer look in living rooms and bedrooms, while satin stands up to splashes in mudrooms or kids’ baths. The tradeoff is that higher sheens show more drywall texture, patched areas, and roller marks, so surface prep and rolling technique carry more weight as sheen goes up.
Dry Time, Cure Time, and a Safe Move Back Checklist
Dry and cure are not the same. Many acrylic latex paints are dry to the touch within hours, yet remain soft for days while solvents flash off and the film crosslinks. Protect fresh walls by waiting at least overnight before reinstalling switch plates and picture hooks, and add felt pads to headboards and furniture. In baths, give paint a full day of dry time before a hot shower. Ventilate by cracking windows and placing a box fan blowing out, and run the HVAC fan with a clean filter to help move odor and moisture through. Pull painter’s tape when the paint is slightly soft to prevent chipping, then label touch-up containers with the room name, brand, color, and sheen. Keep a small kit with a 4-inch roller, mini tray, blue tape, and a quality brush for future dings.
When you plan around how you actually live, a whole house repaint becomes manageable. Define the constraints, sequence ceilings, walls, then trim, prep rooms according to their specific conditions, choose a palette and sheen that fit each space, and respect dry and cure times before moving back. Those choices reduce disruption and protect the finish you just invested in, whether you are refreshing a compact townhome or a two-story in Chesterfield. A focused plan preserves your routines while delivering the clean lines, even color, and durable surfaces you expect from a whole-home repaint.