Load order is the quiet force behind a smooth relocation. It is the plan that decides which items leave your home first, how they ride in the truck, and what comes off at the new place so you can sleep in a made bed, not on folded blankets. A clear sequence reduces carry time, limits repeated handling, and protects fragile pieces when hallways, elevators, or weather add pressure. Whether you are hiring a crew or renting a truck, a thoughtful load order built on smart staging, labeling, and building logistics can save hours and reduce the risk of damage.
1. Define First Night Priorities and Build a Room-by-Room Inventory
Start with a simple A, B, and C list. “A” items are first night essentials: bedding for each bed, toiletries, a small kitchen kit with a kettle, pan, plates, and opener, basic cleaning supplies, device chargers, medications, and a tool bag. Put these in clearly marked “Open First” bins. “B” items are daily-use items that should ride toward the rear of the truck for quick unloading, and “C” items are low-priority decor and seasonal storage. As you pack, inventory each room. Bag and label hardware for bed frames and shelving, defrost and dry the freezer at least a day ahead, and secure washers with transit bolts if the manufacturer requires them.
If you are coordinating with a local crew, share your A, B, and C priorities and a brief load sheet before move day. That list helps a team stage furniture pads, stretch wrap, and hand trucks around what matters most to you. For readers who want practical support with sequencing and loading strategy, a reputable Lakewood moving company can align its truck layout and crew roles with your inventory and building rules.
2. Map Your Home to the Truck: Weight Low, Protection High, Essentials Loaded Last
Think of the truck as a series of zones. Dense pieces such as bookcases, dressers, and boxes of books should ride low and securely positioned near the front wall and over the axles to help keep the center of gravity stable. Use furniture pads and stretch wrap on wood surfaces, and add cardboard corner protectors where straps contact edges. Keep dish packs and glass front cabinets at a protected height with soft buffers, rather than directly on the floor. You can stack wardrobe boxes along the side rails. “Open First” bins and bed linens should be loaded last so they come off first at the new place. Secure each section with cargo straps or load bars so nothing shifts during braking.
In a third-floor walk-up with tight turns, remove table legs and sofa feet in advance, and pad stair rails. Stage long items such as headboards and mattresses near the exit so they can travel upright and create a stable wall for lighter boxes. Use a hand truck for manageable stacks of medium boxes and appropriate moving equipment for heavy appliances. Measure doorways and the truck’s opening height before move day. If you must tilt a sofa, wrap it beforehand with moving blankets and stretch wrap so the fabric doesn’t snag on railings or doorways.
3. Stage Your Home Into Lanes: Color Labels, Floor Runners, and Hardware Control
Assign a color to each destination room using bright tape or stickers, then label every box on two sides and the top with the color, room name, and a few contents, such as “Kitchen: dish towels” or “Office: cables.” Create clear lanes leading toward the exit so staged items don’t block what comes next. Use small boxes for dense items such as books or pantry cans. Large boxes are better for light, bulky items such as bedding. For the kitchen, dish packs with reinforced sides protect plates and stemware better than standard cartons. Wardrobe boxes keep closets moving quickly and prevent hangers from getting crushed.
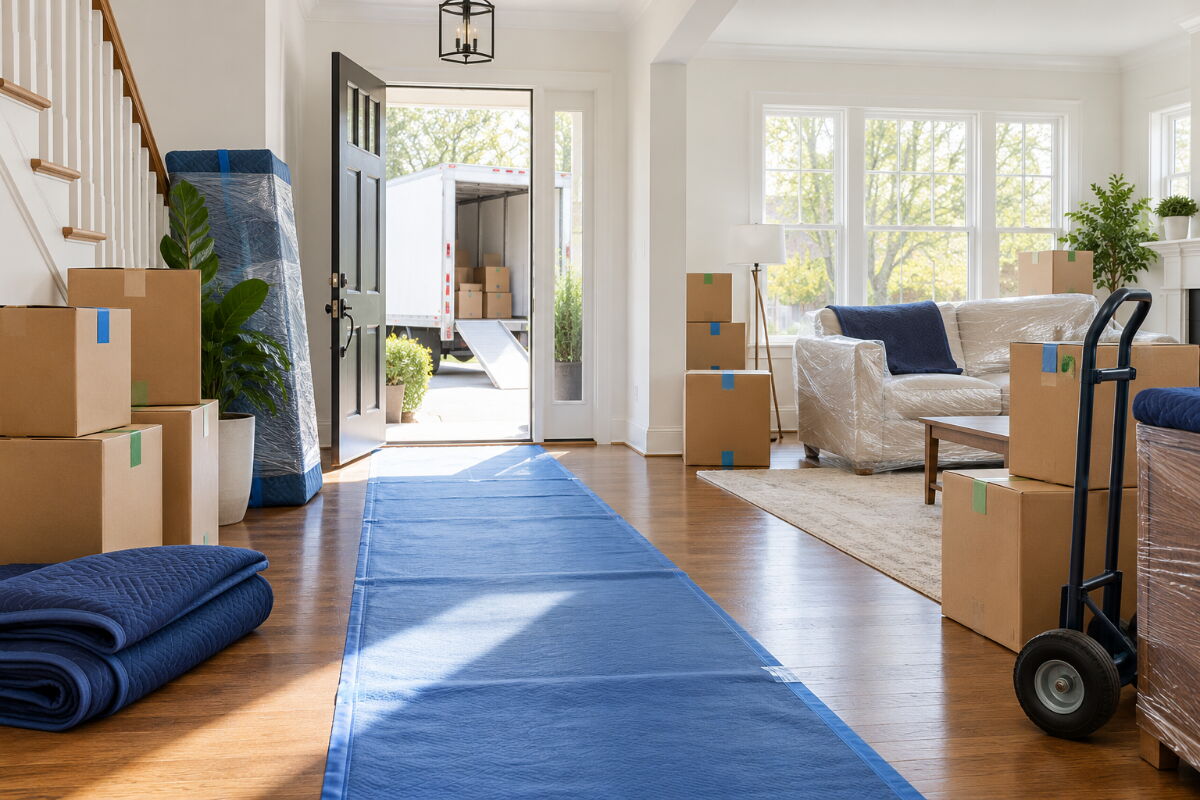
Lay floor runners and stair protectors before moving the first item, especially in rain or snow. Protect door jambs and banisters with felt or padding. Keep all fasteners in labeled zipper bags and attach each bag to the corresponding headboard, table underside, or shelf panel. Put a basic toolkit in the “Open First” bin, including hex keys, a screwdriver set, a small socket set, painter’s tape, a box cutter, and a cordless drill with bits. A common mistake is mixing several rooms in one carton simply to fill space. That slows placement at the destination and increases repeated handling.
4. Handle Curbside and Building Constraints Before the Truck Arrives
Access dictates speed. If your street requires a temporary parking permit or other arrangements to reserve curb space, handle them according to local rules so the truck can park close to your door. In condos or tall residential buildings, reserve the elevator and loading dock in writing, note the approved time window, and ask whether a certificate of insurance is required. Share those details with anyone helping so the crew can sequence large items during the elevator window and move staged boxes while waiting for the cab to return. In winter, clear ice, apply appropriate traction material, and account for snowbanks that may reduce turning space.
For detached homes with long driveways or tight turns, confirm the moving truck’s length and turning requirements ahead of time. Trim low branches where appropriate, move cars, and identify soft spots in lawns after heavy rain. If the only access is a narrow alley, consider using a smaller box truck or cargo van as a shuttle to reduce long carries with heavy items. Protect entries with door jamb guards and floor runners so crews can work steadily without worrying about scuffs. Set aside a clearly marked “Do Not Load” area for keys, paperwork, medications, and pet essentials.
Run the Sequence and Audit as You Go
On moving morning, assign one person as the dispatcher near the front door. That person checks labels against the inventory, calls out destinations by color, and keeps travel lanes clear. Follow a simple rhythm: wrap and stage furniture, build a stable base with heavier items, then stack boxes by room, securing each section before starting the next. Photograph empty closets and cabinets as a quick check that nothing is left behind. When the final items leave, sweep the rooms, collect hardware bags attached to furniture, and pack the door and floor protection so you can use it immediately at the new home.
During unloading, place matching color labels near each doorway before the first box enters so helpers can route items by color rather than stopping to ask questions. Assemble beds first while “Open First” bins provide towels, kitchen basics, chargers, and other essentials. Follow the manufacturer’s instructions before reconnecting or operating refrigerators, washers, and other appliances after transport. Remove any required washer transit bolts before the first cycle.
As you unpack, gather moving blankets, furniture pads, straps, and load bars in one place so they don’t create tripping hazards or disappear beneath empty cartons.
Good load order is not luck. It is a sequence built from priorities, access conditions, and simple tools such as color labels, floor runners, dish packs, wardrobe boxes, and cargo straps. When you define first-night needs, map your rooms to the truck, and stage clear lanes through your space, moving day becomes a predictable series of steps instead of a scramble. Share your load sheet with anyone helping, whether friends or professionals, and you will spend less time carrying the same box twice and more time getting the beds made and the coffee brewing.