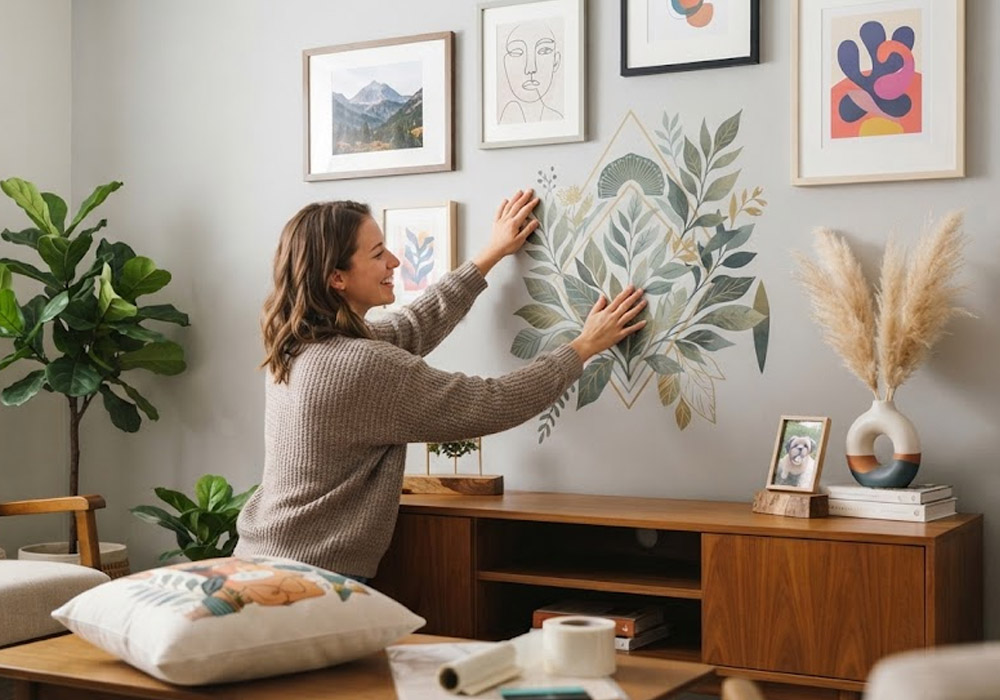
Not every home improvement project needs a contractor, a permit, or a weekend covered in paint. Some of the most satisfying upgrades are the small ones: the details that make a space feel organized, personal, and finished. A labeled pantry, matching mugs, a pillow with a family name, a home office that actually looks like yours.
Custom decals and printed fabrics have become one of the easiest ways to add that personality. They’re affordable, they don’t require special skills, and many of them can be applied at your kitchen table in minutes. Here’s how to use them around the house, and what to know before you start.
Why small, personal upgrades matter
Big renovations change how a home works. Small upgrades change how it feels. A space with personal touches tends to feel calmer and more intentional, and organization projects in particular pay off every single day, every time you reach for the right jar or find the right bin on the first try.
There’s also a practical advantage: these projects are low-risk. If you change your mind, the cost of redoing a label or a pillow cover is tiny compared with retiling a backsplash or repainting a room.
Two printing methods worth knowing
Most custom home decor projects today use one of two printing technologies, and choosing the right one depends on the surface:
| Surface | Best method | How it’s applied |
| Glass, ceramic, metal, hard plastic | UV DTF decals | Peel and stick, no heat needed |
| Cotton, polyester and blended fabrics | DTF heat transfers | Pressed on with a heat press or, when the transfer instructions allow it, a household iron |
UV DTF decals are printed with ink that cures under ultraviolet light, then sealed between a backing film and a clear top film. You peel off the backing, press the design onto a clean, hard surface, and peel away the top film. The result looks printed on rather than stuck on, with a slightly raised, glossy finish.
Standard DTF transfers are made for fabric. The design is printed onto film, coated with an adhesive powder, and cured, then heat-pressed into cotton, polyester, or blended textiles such as pillow covers, aprons, and tea towels. It’s worth keeping the two separate: UV DTF isn’t designed for flexible fabric, and fabric transfers won’t hold up as well on hard surfaces.
Room-by-room ideas
Kitchen and pantry
- Uniform pantry labels on glass jars for flour, sugar, rice, pasta, and snacks. Matching labels instantly make a pantry look organized.
- Spice jar labels in one consistent font, so you can find the cumin without reading every lid.
- Personalized mugs and tumblers for each family member, which also ends the “whose cup is this?” debate.
- Printed aprons and tea towels with a family name, a favorite recipe, or a simple pattern that matches your kitchen colors.
Home office
- Labels for storage boxes and drawers so supplies, cables, and paperwork each have a clear home.
- A custom decal on a water bottle or pen holder that ties the desk setup together visually.
- A small motivational phrase on a glass or wooden desk accessory, sized so it’s visible without being distracting.
Kids’ rooms and playrooms
- Toy bin labels with pictures and words, which help younger kids learn to put things back in the right place.
- Name decals on water bottles and lunch containers that make school mornings easier.
- Custom pillow covers with their name, favorite animal, or a design they helped create.
Laundry room and bathroom
- Labels on glass or plastic containers for detergent pods, clothespins, cotton pads, and bath salts.
- Matching dispenser labels for soap and lotion that give a bathroom a more finished, hotel-style look.
How to apply UV DTF decals for a clean finish
- Clean the surface. Wipe it with rubbing alcohol to remove grease and dust, then let it dry completely.
- Plan your placement. Hold the decal in position and mark the spot lightly if you need a guide, especially for rows of matching jars.
- Peel the backing film and place the design carefully. It’s easier to get it right the first time than to reposition it.
- Press firmly from the center outward with your fingers or a smooth card to push out any air.
- Peel away the clear top film slowly, keeping it close to the surface as you go.
- Let it set. Wait about 24 hours before washing the item.
Care tips so your upgrades last
- Hand-wash only for items with UV DTF decals. They’re water-resistant, but they aren’t meant for the dishwasher.
- Avoid abrasive sponges directly on the design.
- Wash printed fabrics gently, in cold water and without fabric softener, to keep colors bright.
- Keep decals on the outside of jars and containers, away from direct contact with food.
Where to get custom decals and transfers
You can buy ready-made labels at home stores, but custom printing lets you choose the exact wording, size, font, and colors to match your space. Several print shops now sell directly to homeowners in small quantities. Iris DTF, a print shop in the Dallas-Fort Worth area, prints both fabric transfers and UV DTF decals for hard surfaces with no minimum order, so you can order a single set of pantry labels or combine several designs on one sheet for a whole-house project.
Whichever route you take, it’s worth designing all your labels at once. Using the same font, color, and size across a room is what gives the finished result that polished, intentional look.
Final thoughts
Home improvement doesn’t always mean tearing something out. Sometimes it’s a row of matching jars, a pillow with a name on it, or a desk that finally feels organized. Custom decals and printed fabrics make those small upgrades easy, affordable, and easy to change as your style evolves. Start with one room, keep the design consistent, and let the details do the work.