Buying an electric vehicle often prompts a straightforward question with a surprisingly technical answer: where should the home charger go? The location you choose affects charge speed, project cost, cable management, and how smoothly the installation sails through permitting and inspection. A smart plan looks beyond a convenient wall and considers your electrical panel’s capacity, circuit length, weather exposure, and future driving needs. Here is how those factors work together so you can pick a practical, code-compliant location that serves you well for years.
Start With Panel Capacity and Circuit Distance
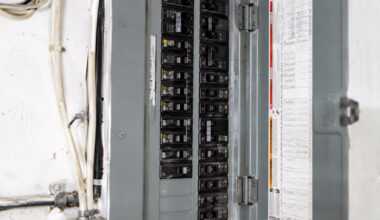
Your main service panel sets the ceiling for a Level 2 circuit. Most home EVSE units call for a dedicated 240-volt, two-pole breaker rated 40 to 60 amps, with conductors sized accordingly. A proper load calculation, often done during permitting, confirms whether a 100-amp or 150-amp service can support that added demand or whether a panel or service upgrade is prudent. If you plan to hire a pro, choose an EV-experienced electrician, such as the Andrew Casey Electrical Contractors EV electrician, to evaluate the panel, calculate continuous load, and size the breaker and wire correctly.
Distance matters because longer runs increase material cost and voltage drop. A charger mounted on the wall opposite a basement panel can add 60 to 80 feet of cable, conduit, and fittings. That extra length may call for a thicker conductor to limit voltage drop, or a closer mounting point to preserve charging performance. A common scenario is a panel at the far end of the house and a garage on the other; placing the charger near the panel or adding a garage subpanel can shorten circuits and simplify future additions.
Mounting Location: Garage Wall, Carport, or Exterior
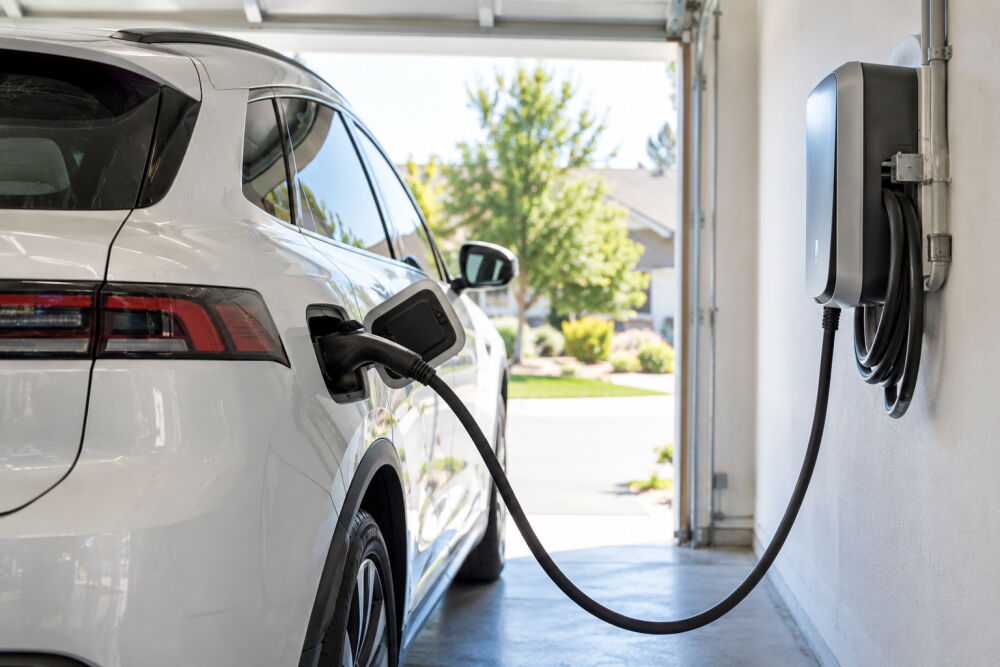
Protected indoor walls usually offer the cleanest installation. A garage mount avoids direct sun, rain, and snow, which can shorten exterior hardware life. If the only practical spot is outside, look for a unit with a weather rating suited to exposure, such as NEMA 3R or better, and make sure exterior conduit, fittings, and fasteners are corrosion-resistant. In either case, plan cord reach with the vehicle’s charge port in mind. Some EVs place it at the front fender; others at the rear quarter panel. Mounting the EVSE near the natural parking position prevents hazardous cable stretch.
An exterior outlet or charger also needs proper sealing and support. For a plug-in unit, that means an in-use, weatherproof cover that can close over the connected plug and a rigidly mounted box that resists cable tugging. For a hardwired EVSE, the junction box and service disconnect, if used, should be located where they are accessible for inspection but protected from lawn sprinklers and roof runoff. Good placement reduces nuisance GFCI tripping and keeps connectors cleaner, which helps them mate reliably.
NEMA 14- 50 Receptacle or Hardwired EVSE?
Many home installations use a NEMA 14-50 receptacle, then plug in a portable Level 2 EVSE. The upside is flexibility: you can unplug and take the unit with you, and a 14- 50 can serve other 240-volt loads if the EVSE is removed. The tradeoff is another set of contact points that must be tight and weather-protected. Outdoor receptacles require in-use covers and GFCI protection, and overheating at a loose plug can damage the outlet. Hardwiring removes that plug interface and often provides neater cord management on a permanent wall-mount unit.
Breaker size and charge rate also factor in. Some plug-in units limit continuous current to match cord and plug ratings, while hardwired models can be configured to a dedicated 40- or 48-amp setting if the circuit and EV support it. If you are unsure which way to go, think about how you will use the space: drive-through garages and busy workshops tend to benefit from a fixed, hardwired mount that keeps cables off the floor; a vacation property or temporary setup may favor a 14- 50 for portability.
Detached Garages and Long Driveways: Routing Power Safely
Getting a 240 volt circuit to a detached garage usually means trenching and conduit. Before anyone digs, call 811 to locate buried utilities. In many climates, rigid or Schedule 40 PVC conduit with proper transitions to Schedule 80 where exposed above grade is a typical approach, but specific burial depth and fittings will follow local code. Long runs may prompt a feeder and subpanel in the outbuilding so you can power lighting, outlets, and future loads without running multiple individual branch circuits back to the house.
Consider two realistic cases. If your garage sits 25 feet from the house and you only need one EVSE, a single underground branch circuit may be fastest to permit and build. If it is 80 feet away and you plan lighting, a garage door opener, and a second charger someday, a small subpanel in the garage is often the cleaner long-term solution. The initial trench and conduit will cost more upfront, but you avoid reopening the yard later and can add circuits neatly inside the detached space.
Planning for a Second EV and Connector Changes
Many households add a second EV within a few years, so it is smart to plan for simultaneous charging. Two 40-amp circuits at opposite sides of a two-car bay keep cords from crossing bumpers, while some wall units offer load sharing that splits a single larger circuit between two EVSEs. Another forward-looking move is to oversize the conduit to the charger location and leave a pull string or spare conductors. That small step makes upgrading from a 32-amp to a 48-amp unit far simpler later.
Connector standards also evolve. Most non-Tesla EVs use the J1772 interface for Level 2, while Tesla models often use an adapter or a charger with a native Tesla plug. As automakers shift toward the North American Charging Standard connector, selecting an EVSE with swappable cable options or a well-reviewed adapter can reduce future hardware changes. Mount the unit so you can replace the cable without opening finished walls, and label the circuit clearly in the panel to help anyone who services it later.
Bringing these variables together leads to a practical placement plan rather than a guess. Start at the panel, minimize circuit length, choose a mounting surface that protects the equipment, and plan for a second EV. For exterior runs or detached buildings, plan the path, conduit, and burial before you fall in love with a specific wall. With a permit, inspection, and properly sized breaker and conductors, a well-sited charger feels natural to use day after day and is far easier to maintain or upgrade when your driving changes.