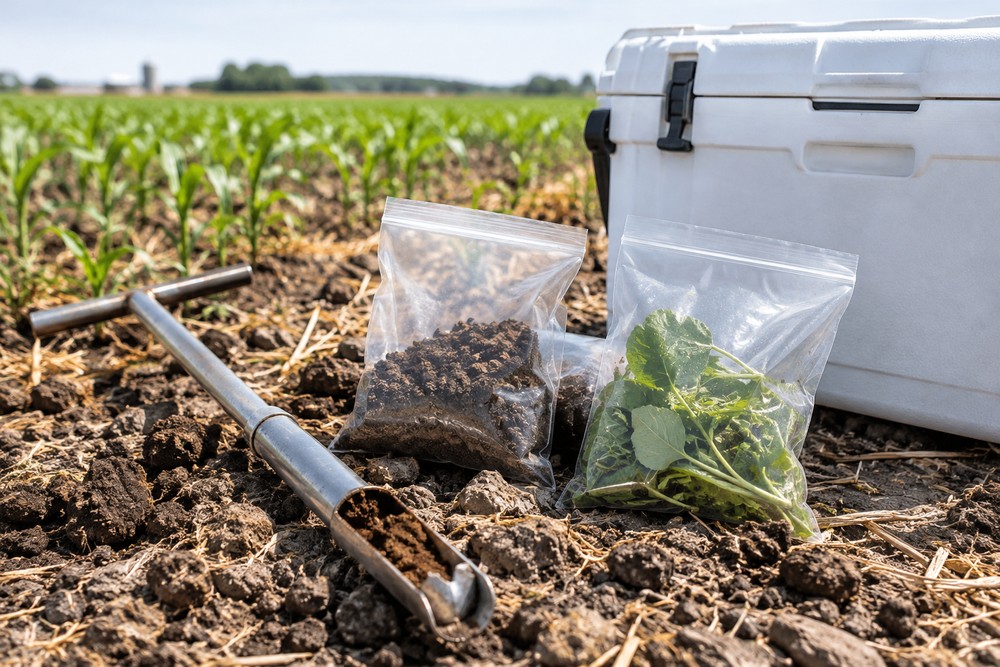
Imagine spending tens of thousands of dollars on high-throughput DNA sequencing, mass spectrometry, or advanced soil chemistry analysis, only to discover the findings are completely useless. In agricultural research, even the most sophisticated laboratory instruments cannot fix a flawed specimen gathered in the field. This fundamental reality gives rise to an irreplaceable rule in research: garbage in, garbage out.
Whether evaluating crop yield potential, tracking plant pathogen outbreaks, or measuring soil carbon sequestration, scientific accuracy begins at the moment of harvest or extraction. Executing rigorous sample collection methods ensures that data accurately reflects field conditions, helping agronomists, plant breeders, and soil scientists make confident, evidence-based decisions.
1. The Critical Role of Representative Field Sampling
Quick Answer: Representative sampling combines multiple sub-samples taken across distinct field zones to capture natural variability in soil nutrients, moisture, and crop health.
Agricultural fields are rarely uniform. Variations in slope, soil texture, historical management, and drainage create distinct micro-environments across a single acre. Taking a single shovel of soil from one corner of a field and treating it as representative of the entire acreage leads to inaccurate fertilizer recommendations and skewed research outcomes.
To capture true field conditions, researchers rely on structured sampling strategies:
- Composite Grid Sampling: Dividing a field into systematic grid squares and collecting core samples within each grid cell.
- Management Zone Sampling: Grouping areas of a farm by yield history, topography, or soil type, then collecting pooled samples within each zone.
- Zigzag Transect Sampling: Walking a pre-planned zigzag pattern across a homogeneous zone to gather 15 to 20 sub-samples into a single composite batch.
2. Preventing Cross-Contamination and Preserving Specimen Purity
Quick Answer: Strict sanitation and sterile containment prevent external microbes, weed seeds, or ambient chemicals from altering lab test results.
Field conditions are inherently dirty, making cross-contamination one of the greatest threats to sample accuracy. When testing for microscopic threats like root-knot nematodes, fungal spores, or heavy metal residues, tiny trace contaminants on field tools or storage containers can skew laboratory findings.
Establishing effective field sample contamination prevention standards requires clean handling procedures:
- Tool Decontamination: Sterilizing soil augers, shears, and trowels with 70% isopropyl alcohol between sampling sites.
- Sterile Sample Containment: Storing leaf tissue, grain, or soil in heavy-duty sterilized bags designed specifically to block ambient moisture, airborne fungal spores, and chemical leaching during transport.
- Personal Protective Equipment (PPE): Wearing fresh disposable gloves when handling delicate plant tissues or DNA specimens to avoid transferring human skin oils and ambient microbes.
3. Maintaining Chemical and Biological Stability During Transport
Quick Answer: Controlling temperature, moisture, and light exposure between field harvest and laboratory intake stops biological degradation and chemical alteration.
The moment a plant tissue, soil core, or water sample is severed from its natural environment, biological processes begin to shift. Respiration continues, volatile nitrogen compounds off-gas, and dormant soil microbes multiply rapidly if ambient conditions are warm and moist.
To preserve soil and plant sample integrity, field teams must manage post-collection logistics carefully. Nitrogen testing, for instance, requires immediate chilling or freezing to arrest microbial conversion of ammonium to nitrate. Similarly, leaf tissue collected for gene expression studies often requires rapid preservation in liquid nitrogen or ultra-low temperature coolers right at the field edge.
4. Checklist: Agricultural Sample Collection Protocols
- Pre-Field Preparation: Calibrate sampling tools, verify GPS coordinates, and prepare pre-labeled, sterile specimen containers.
- Field Execution: Wear clean gloves, sanitize tools between plots, and avoid edge effects (e.g., fence lines, turn rows, fertilizer piles).
- Sample Documentation: Record exact GPS coordinates, depth layers, time of day, soil moisture levels, and visual crop symptoms.
- Preservation & Transport: Place specimens into climate-controlled coolers immediately and adhere to strict chain-of-custody transfer logs.
5. Common Mistakes in Agricultural Sample Collection
- Mistake: Sampling Under Extreme Environmental Conditions
- Consequence: Collecting soil during heavy rain or severe drought warps nitrate and potassium availability readings, leading to false nutrient baseline data.
- Mistake: Reusing Non-Sterile Containers
- Consequence: Storing plant tissue in previously used plastic sacks introduces residual fertilizers or plant pathogens from prior field visits.
- Mistake: Ignoring Depth Precision in Soil Cores
- Consequence: Mixing topsoil (0–6 inches) with subsoil (6–12 inches) dilutes organic matter readings and skews root-zone nutrient assessments.
6. Myth vs. Fact: Agricultural Field Sampling
- Myth: Laboratory technology has advanced so much that high-tech instruments can automatically filter out field sampling errors.
- Fact: Advanced lab tools like PCR machines and mass spectrometers simply analyze whatever is inside the container; if the sample is contaminated or degraded, the output will be mathematically precise garbage.
- Myth: Any plastic bag is suitable for transporting field soil and plant tissues.
- Fact: Standard household plastic bags often leach plasticizers or allow gas exchange, whereas dedicated sterile sampling bags maintain atmospheric isolation.
Frequently Asked Questions
What is the ideal sample size for agricultural soil testing?
For most routine nutrient assays, a composite sample weighing between 1 and 2 pounds—assembled from 15 to 20 individual core sub-samples—provides sufficient volume for full laboratory analysis.
How soon after collection should plant tissue samples reach the laboratory?
Plant tissue samples should ideally reach the testing laboratory within 24 to 48 hours of collection, stored in cool, breathable, or sterile containers to prevent mold growth and cellular decay.
Sample collection is not merely a routine physical task; it is the scientific foundation upon which all agricultural research rests. By implementing standardized agricultural sample collection protocols, utilizing sterile containment, maintaining climate-controlled transport, and preventing cross-contamination, researchers protect the validity of their data. Investing care and precision in the field guarantees that laboratory insights deliver meaningful, actionable breakthroughs for modern agriculture.